
It’s no longer rare to find an espresso machine in someone’s kitchen. Creating your own delicious cappuccinos and lattes at home is more affordable and easier than ever! Everyone loves waking up to the smell of freshly brewed coffee in the morning, but what about the gorgeous latte art you see in specialty coffee shops?
Today, we’re going to let you in on the secret to pouring consistent, beautiful latte art. Whether you’re looking to impress your friends at home or become a professional barista, we’ve got you covered.
A few things you’ll need are:
- An espresso machine
- A steam wand (or another method of steaming milk)
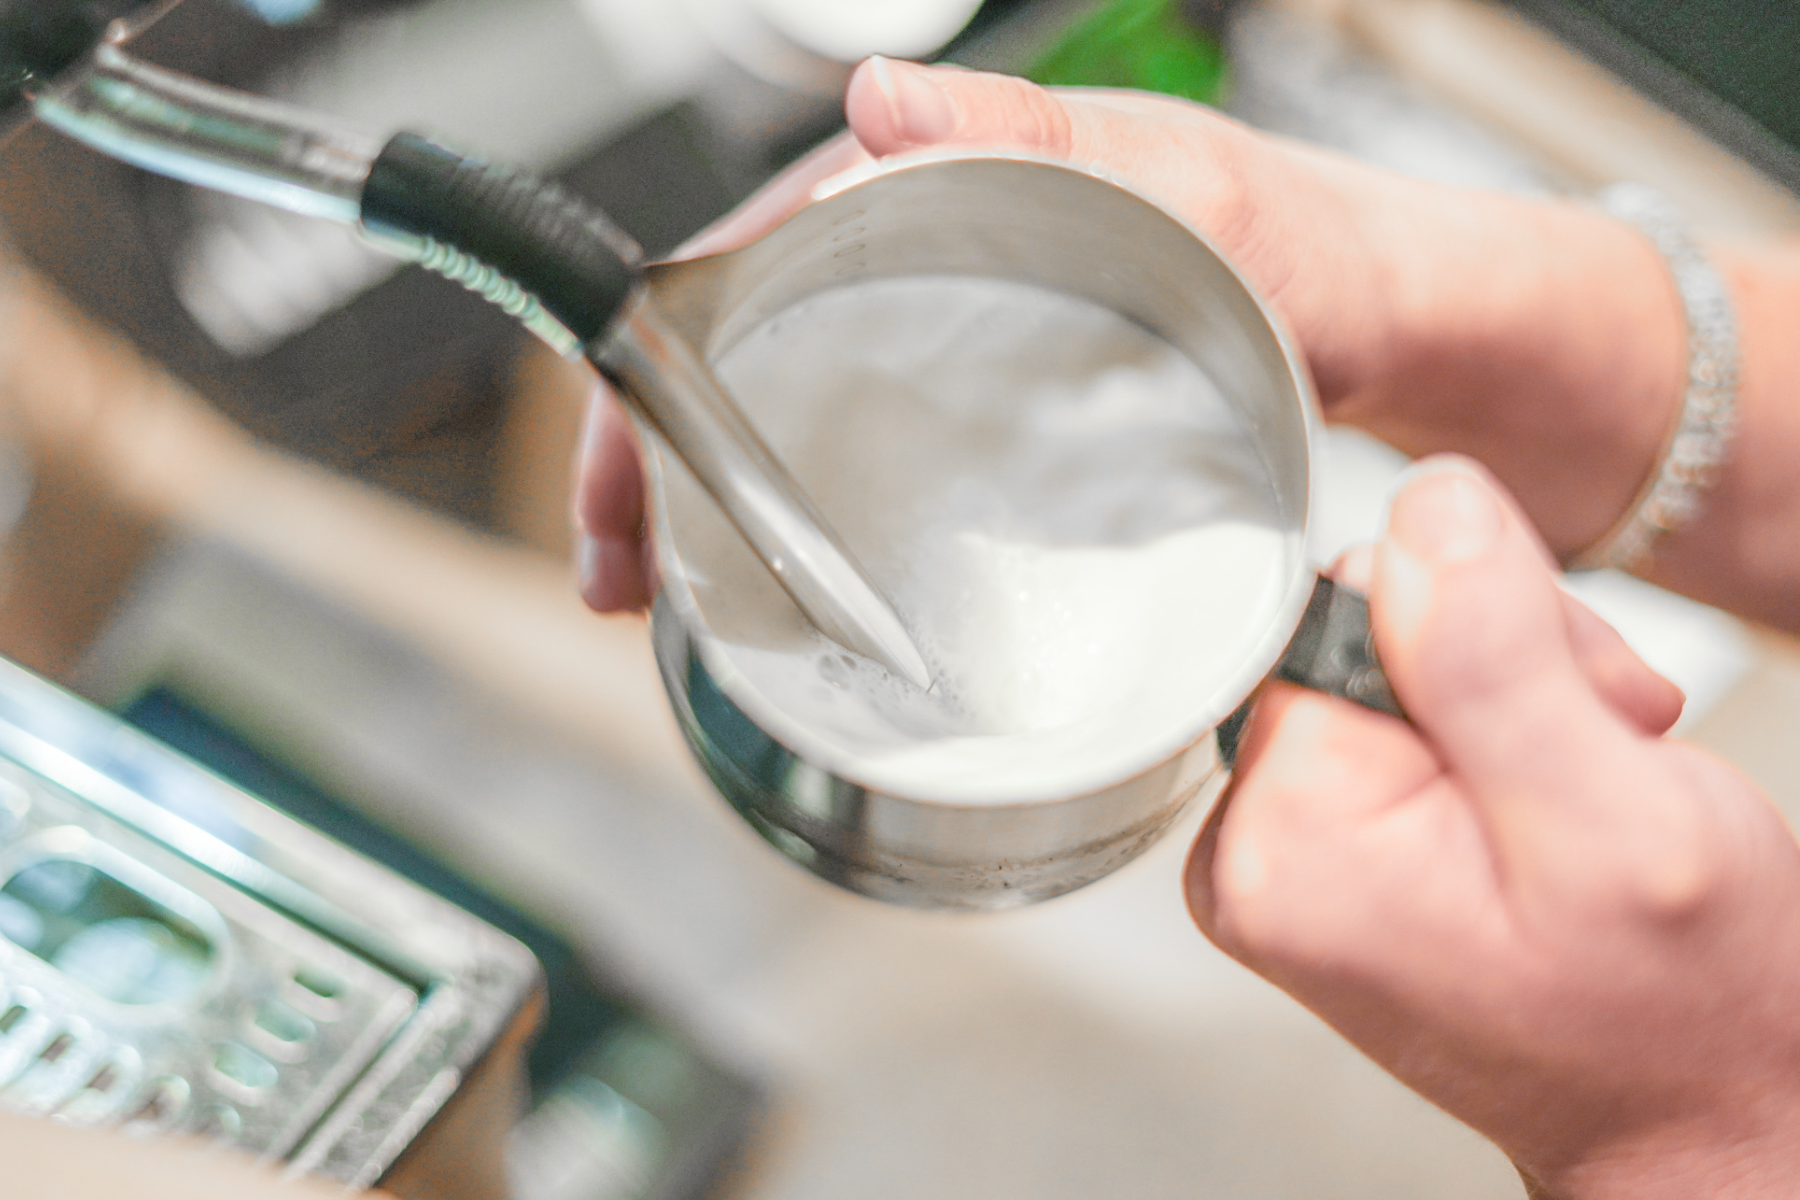
- A milk steaming pitcher
- Your favorite mug for sipping
Check out our farm-to-cup quality coffee today!
Now, grab your milk and let’s talk about the two phases of steaming:
The Stretching Phase
Also known as the texturing phase, this is the very beginning of the steaming process that allows for aeration to occur. To begin:
- Submerge only the tip of the steam wand below the milk. Hold your pitcher in one hand and rest the other on the side of the pitcher toward the bottom.
- Turn the steam wand to full power. You want to hear audible sounds of aeration, like a piece of copy paper being ripped. If you see splashing and bubbles, your wand is likely too far submerged. The goal is to gently allow air into the milk.
- Once the pitcher is warm to the touch, the steam wand should be submerged slightly lower into the milk so that there is no more sound.
The Rolling Phase
Moving on to phase two of the steaming process! Here are our tips to perfect this process:
- After your milk has been stretched/textured, you want to “roll” or swirl the milk so that any bubbles will be vanquished and the textured milk becomes one creamy, unified liquid.
- You don’t want any audible aeration in this phase. The milk should be swirling in a motion that looks like a vortex.
- Continue this until the pitcher feels hot to the touch. Avoid burning your milk by removing the steam wand when it is hot to the touch, not when it burns your hand! This step is key because if the pitcher gets too hot, it will burn your milk and interfere with the texture for pouring.
The Pour
Once your steamed milk is textured and shows no visible bubbles or separation of layers, you’re ready to do the fun part- pour!
- Slowly pour the milk over your espresso to create a base layer.
- Once your cup is two-thirds full, drop the tip of the pitcher down and begin pouring controlled, tight wiggles. You want to push the milk out and away. This is your first layer of latte art!
- After creating your base layer, raise your pitcher up and pour a second layer.
- Repeat the same process as before, raise up, and you’re ready to complete your masterpiece. This takes practice so don’t be discouraged if it’s not perfect on your first try.
- To pour your final layer, raise your pitcher up just before the cup is full and pour through the layers to the opposite side of your cup (see below).

This can take some getting used to so practice, practice, practice! Nailing down the right consistency of milk first will make the process much easier, so perfect that first if you’re struggling.
More Tips and Tricks
- Hold the pitcher steady when first steaming the milk and don’t make any drastic movements. If the steam wand is just below the surface of the milk, you don’t have to worry about moving the pitcher up or down at all!
- Before pouring, tap out any bubbles that might remain in the pitcher. Swirl it so that any separating of layers is eliminated and you’re left with a smooth texture.
- If you notice that there is very little movement when you go to pour your art, your milk might be stiff from overheating. Try steaming it again and remove the wand sooner!
- If the milk flows too freely over the espresso, you might need to aerate it more to create that creamy consistency.
It might take some time, but anyone can create beautiful, Instagram-worthy latte art. Remember to practice and have fun and you’ll be creating designs like professionals in no time!
If you’re looking for the right espresso for your art, try our sample box today to find the perfect blend for you! Check out our podcast Coffee U on Spotify or Apple for more coffee content and tips.